Sleazy's Garage


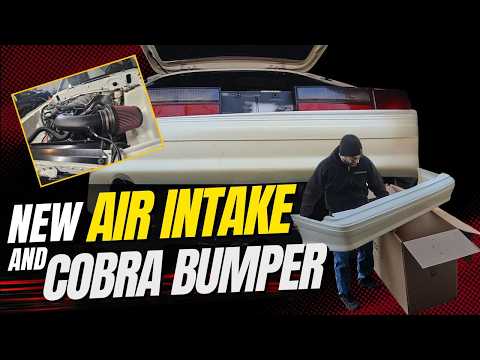
In this video I show the cobra bumper I got from Cervini's and clean up the rust stains on the rocker panels from the brackets that hold the ground effects on. I'm also installing a JLT cold air intake in preparation for the base tune I'm getting from Palm Beach Dyno.

I've been cleaning my basement and I found a really old Ford car air freshener. It's _at least_ 12 years old but I think it's from 2006. Lets crack it open and give it an unrecommended sniff. I'm a big fan of Ford cars, but this isn't it.

CGSULIT sent us a BD006 Battery Tester to try out! In this video we'll test it out on some of my cars and get an idea of what it's like to use and I'll give you my impressions. There were definitely some surprises! Lets figure out if you need this tool in your toolbox.

Another episode of documentation of my coyote swapped fox body restomod project. In this video we're installing some brand new hatch interior panels but not before chopping them up to fit the flaming river big switch. I also designed a cover for the bottom of the switch in CAD and 3D printed one. I'll make it available to download soon. I also printed a hatch striker bushing but it was a bit too thicc.

I bought a 3D printer and have become completely addicted. I also bought a fauxwalt (Diytoolifz brand) grease gun so I lubed the front suspension on the 89 project car. While running the car and idling it for a bit I noticed a couple of problems that I will likely need to backtrack tremendously to investigate. But that's hot roddin', baby!

This is a compilation video when I went into the garage over the winter and did some stuff. This particular video is a bit cursed because everything I tried to do was a fail. But you gotta push through failures and search for the... least worst of them to turn into a ... I dunno, I'm hoping the warmer weather puts my brain back on the right track. I did want to get this out though because once spring hits no one will want to see a video with snow in it. 😅 Oh! I did get the fuel pressure dialed in correctly, so I have that going for me I guess.

This is just an extended cold start and idling video of my 1989 Mustang GT with a gen 2 coyote swap. It's a Flowmaster American Thunder exhaust with a custom X-pipe. I was testing the coolant circulation here and everything seemed to be great. Fuel pressure was about 10psi too high though. A couple of revs, one up to 5k rpm at 7:06

I'm graduating past the "doodads and what nots" phase of having a 3D printer. Started learning some CAD and decided I needed a cap to keep junk out of my intake while I have the filter and plumbing disconnected. I'm still learning but what a fantastic tool to have. Not sponsored by the 3D printer manufacturer!

My 1989 Mustang GT Gen 2 Coyote swap has speed engineering long tubes, a custom built x-pipe, and Flowmaster American Thunder mufflers. Let me know what you think, you can be honest.

In this video I'm building a custom X-pipe to fit my speed engineering coyote swap foxbody headers (model number 25-1084). It wasn't easy but it came out better than it had any right to. Not only was this fun welding and metal fab practice but it basically completed my exhaust installation and it looks and sounds great imo! Let me know what you think in the comments.